So I was killing some time on Sunday since someone woke me up early and I couldn't go back to sleep (...thanks dad...), and I decided to make something that I have been wanting to make for a while. It's a book that has samples of the embossing folders I have. This will come in handy when I am at the store and think "oh that's cute! but I think I already have that... maybe I don't... no, I think I do...". Instead of not buying it because I "have it" (which I usually don't), I can simply check my handy dandy little book and make sure.
It was really easy to make and I used materials that I already had on hand.
SUPPLIES:
-Some plain cardstock (I used some yellow, pink and light green)
-A paper trimmer
-A sharpie
-Your embossing folders
-Your embossing machine (I used my Texture Boutique, but you could use the Big Shot, Cuttlebug, etc)
-Chipboard or cardboard
-3 Hole Punch; single hole, handheld, punch; Anywhere Eyelet Punch with hammer; Crop-a-Dile, etc
-Binding rings (not sure what these are called exactly, but I got them at Staples)
-Patterned Paper
-Scissors
-ModPodge or similar adhesive
-Elmer's Paint Pen
-Contact Paper, packing tape, or other laminate (optional)
INSTRUCTIONS:
First, I decided what size I wanted to make my book. I was using 12x12 cardstock so I was thinking either 3x3 or 4x4 since they would be easy to cut. 3x3 seemed too little when I looked at it so I went with 4x4. Using a 12x12 sheet of cardstock, you can get 9 "pages" for your book. I counted my embossing folders after guesstimating that I had around 20... Boy was I wrong! I ended up needing 5 sheets of cardstock because I had over double what I thought.
Once I got all of my pages cut using my paper trimmer (you could also use scissors), I labeled them with my Sharpie. I put the brand as well as the folder name at the bottom. When I had those all done, I started embossing. I tried to keep the writing out of the folder as much as possible so that it would be easier to read, but it won't be the end of the world if you put the whole thing in the folder. Also, some of the folders are a little thicker/thinner than others so you may need to adjust your "sandwich" accordingly. [for those of you that don't know what a sandwich is, it is what you make when you stack the cutting plates of your Big Shot or the embossing plates of your Texture Boutique. You layer it plate, embossing folder, plate thus making a "sandwich". Sometimes when the folders or paper you are using is a little thin, you need to add a shim to help you get a good emboss. For most of my folders, I had to use the shim that came with my machine].
It was really easy to make and I used materials that I already had on hand.
SUPPLIES:
-Some plain cardstock (I used some yellow, pink and light green)
-A paper trimmer
-A sharpie
-Your embossing folders
-Your embossing machine (I used my Texture Boutique, but you could use the Big Shot, Cuttlebug, etc)
-Chipboard or cardboard
-3 Hole Punch; single hole, handheld, punch; Anywhere Eyelet Punch with hammer; Crop-a-Dile, etc
-Binding rings (not sure what these are called exactly, but I got them at Staples)
-Patterned Paper
-Scissors
-ModPodge or similar adhesive
-Elmer's Paint Pen
-Contact Paper, packing tape, or other laminate (optional)
 |
| Supply Shot - some supplies not pictured... oops! |
First, I decided what size I wanted to make my book. I was using 12x12 cardstock so I was thinking either 3x3 or 4x4 since they would be easy to cut. 3x3 seemed too little when I looked at it so I went with 4x4. Using a 12x12 sheet of cardstock, you can get 9 "pages" for your book. I counted my embossing folders after guesstimating that I had around 20... Boy was I wrong! I ended up needing 5 sheets of cardstock because I had over double what I thought.
Once I got all of my pages cut using my paper trimmer (you could also use scissors), I labeled them with my Sharpie. I put the brand as well as the folder name at the bottom. When I had those all done, I started embossing. I tried to keep the writing out of the folder as much as possible so that it would be easier to read, but it won't be the end of the world if you put the whole thing in the folder. Also, some of the folders are a little thicker/thinner than others so you may need to adjust your "sandwich" accordingly. [for those of you that don't know what a sandwich is, it is what you make when you stack the cutting plates of your Big Shot or the embossing plates of your Texture Boutique. You layer it plate, embossing folder, plate thus making a "sandwich". Sometimes when the folders or paper you are using is a little thin, you need to add a shim to help you get a good emboss. For most of my folders, I had to use the shim that came with my machine].
 |
| Use Sharpie to write name of folder on page before embossing |
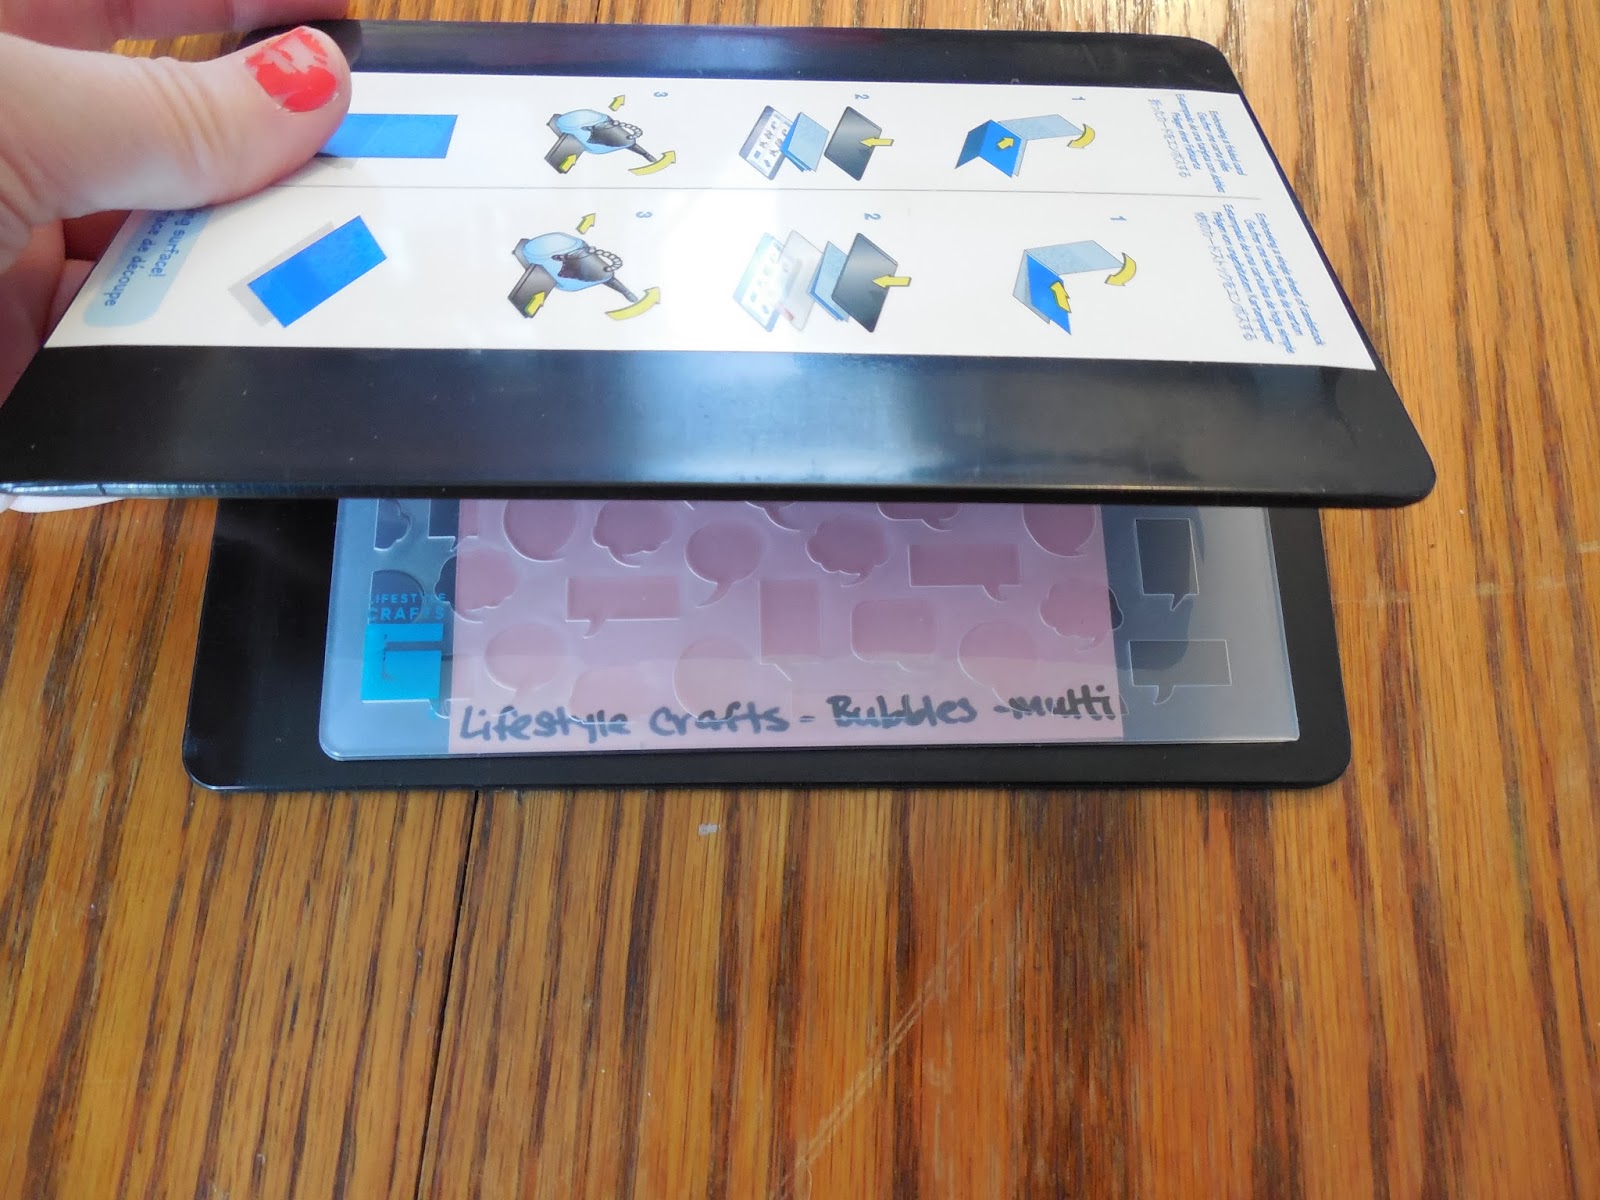 |
| Make your sandwich! |
 |
| Emboss! |
 |
| embossed page
OPTIONAL STEP - I then used clear Contact Paper to
"laminate" my covers. I cut it slightly larger than the covers
and then applied it to the front. I flipped it over and made some cuts so there
would be no overlap and then I folded all of the sides in. Now, this didn't
work quite like I wanted it to. Contact Paper is apparently not as sticky as I
thought, so I ended up using packing tape to secure it on the inside of the
cover.
Now it is time for assembly! I used a 3 hole punch that is more on
the industrial side, so it had no problem going through the cardboard.
You may have to use any Anywhere Punch with a hammer if your hole puncher
won't work. You could also use a binding machine if you have one.
The best part about the hole puncher I have is that the holes can be
moved to where you need them. I figured out how far apart I wanted the
holes to be and placed the holes on the punch accordingly. I punched the
covers first and then did the pages and few at a time. Once everything was
punched, I assembled my book. I sorted the pages by brand alphabetically,
but you can do it however you would like. So, to assemble mine, I placed a
cover all of the pages and then the other cover on one ring and closed it. I
then set it on the table to help line things up and then thread the other ring
through all of the holes and closed it. And your done! Enjoy shopping now since
you will be able to buy new embossing folders since you won't have to worry
about buying duplicates :)
 |
 |
| cover after hole punching |
 |
| punching the pages - the blue sticky note (on the left) helped me to line up where to punch so they were all the same |
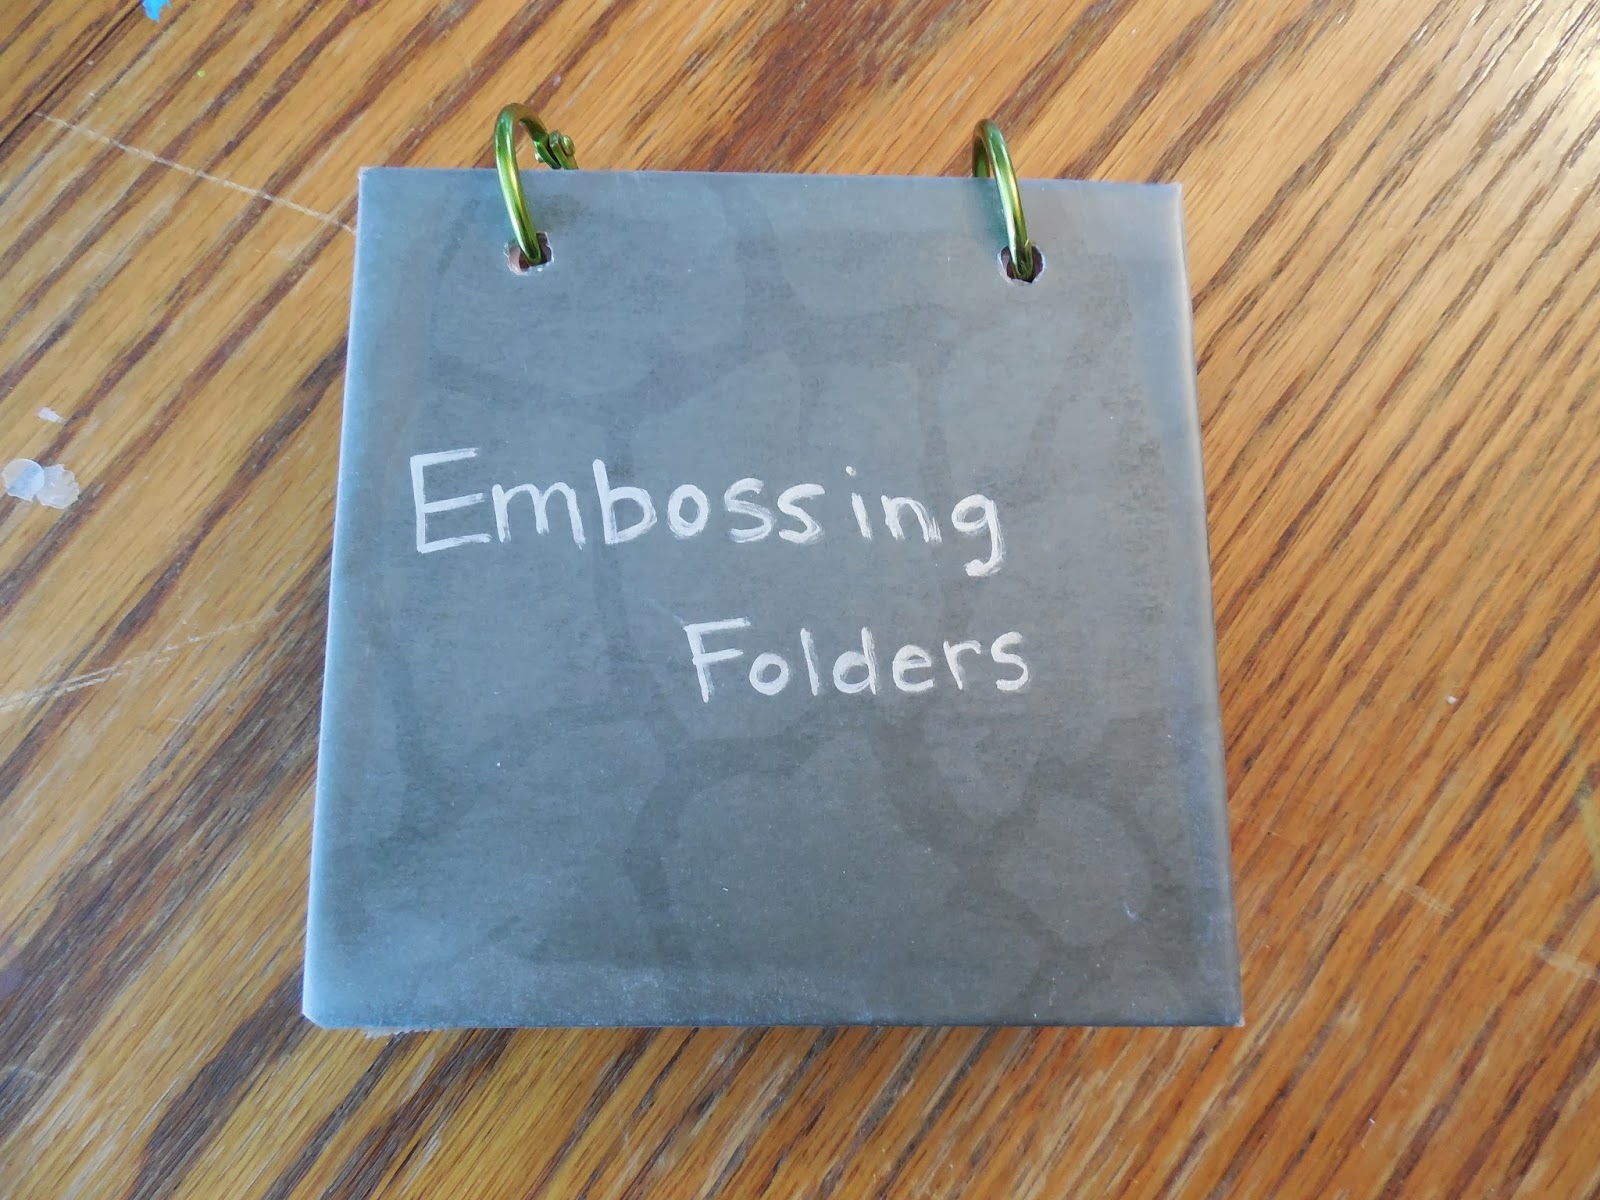 |
| Finished Book |
 |
| pages inside the book |
 |
| anyone see my booboo?!? (hint - I didn't think about the orientation of the pages when I wrote the title) |
 |
| Added some blank pages to the back so I can add any new ones I will eventually buy Let me know if you have any questions, edits, comments, etc P.S. I'm not sure why the text about halfway through changes size, but I can't fix it. Sorry if it causes problems with you being able to read it. |
Comments
Post a Comment