
Commissioned Piece(s)

My friend asked me a few months ago if I could make him some real life Purity Seals from Warhammer 40k, a game he plays.

From the Warhammer Wiki regarding Purity Seals "For the religious or fearful, the Gods offer some consolation in the face of death. Some paint religious phrases on armour or shields, while many others pour sealing wax onto their armour and stamp it with a holy symbol to show their faith. For warriors without plate components, they incorporate such Purity Seals into the rune-inscribed plates they wear around their necks.

He wanted the wax seal version since it was something he wanted to use as prizes for an event he was hosting.  I gave it a whirl and they ended up pretty cool. Fast forward to last month, he commissioned  13 more for another event he is running.  Below are pictures of the process. I still had all the materials from the last time - cotton handmade paper that looked like parchment; wax and wax seal supplies; markers and torch. He asked for a few modifications from the originals and I think they turned out better than the first batch.

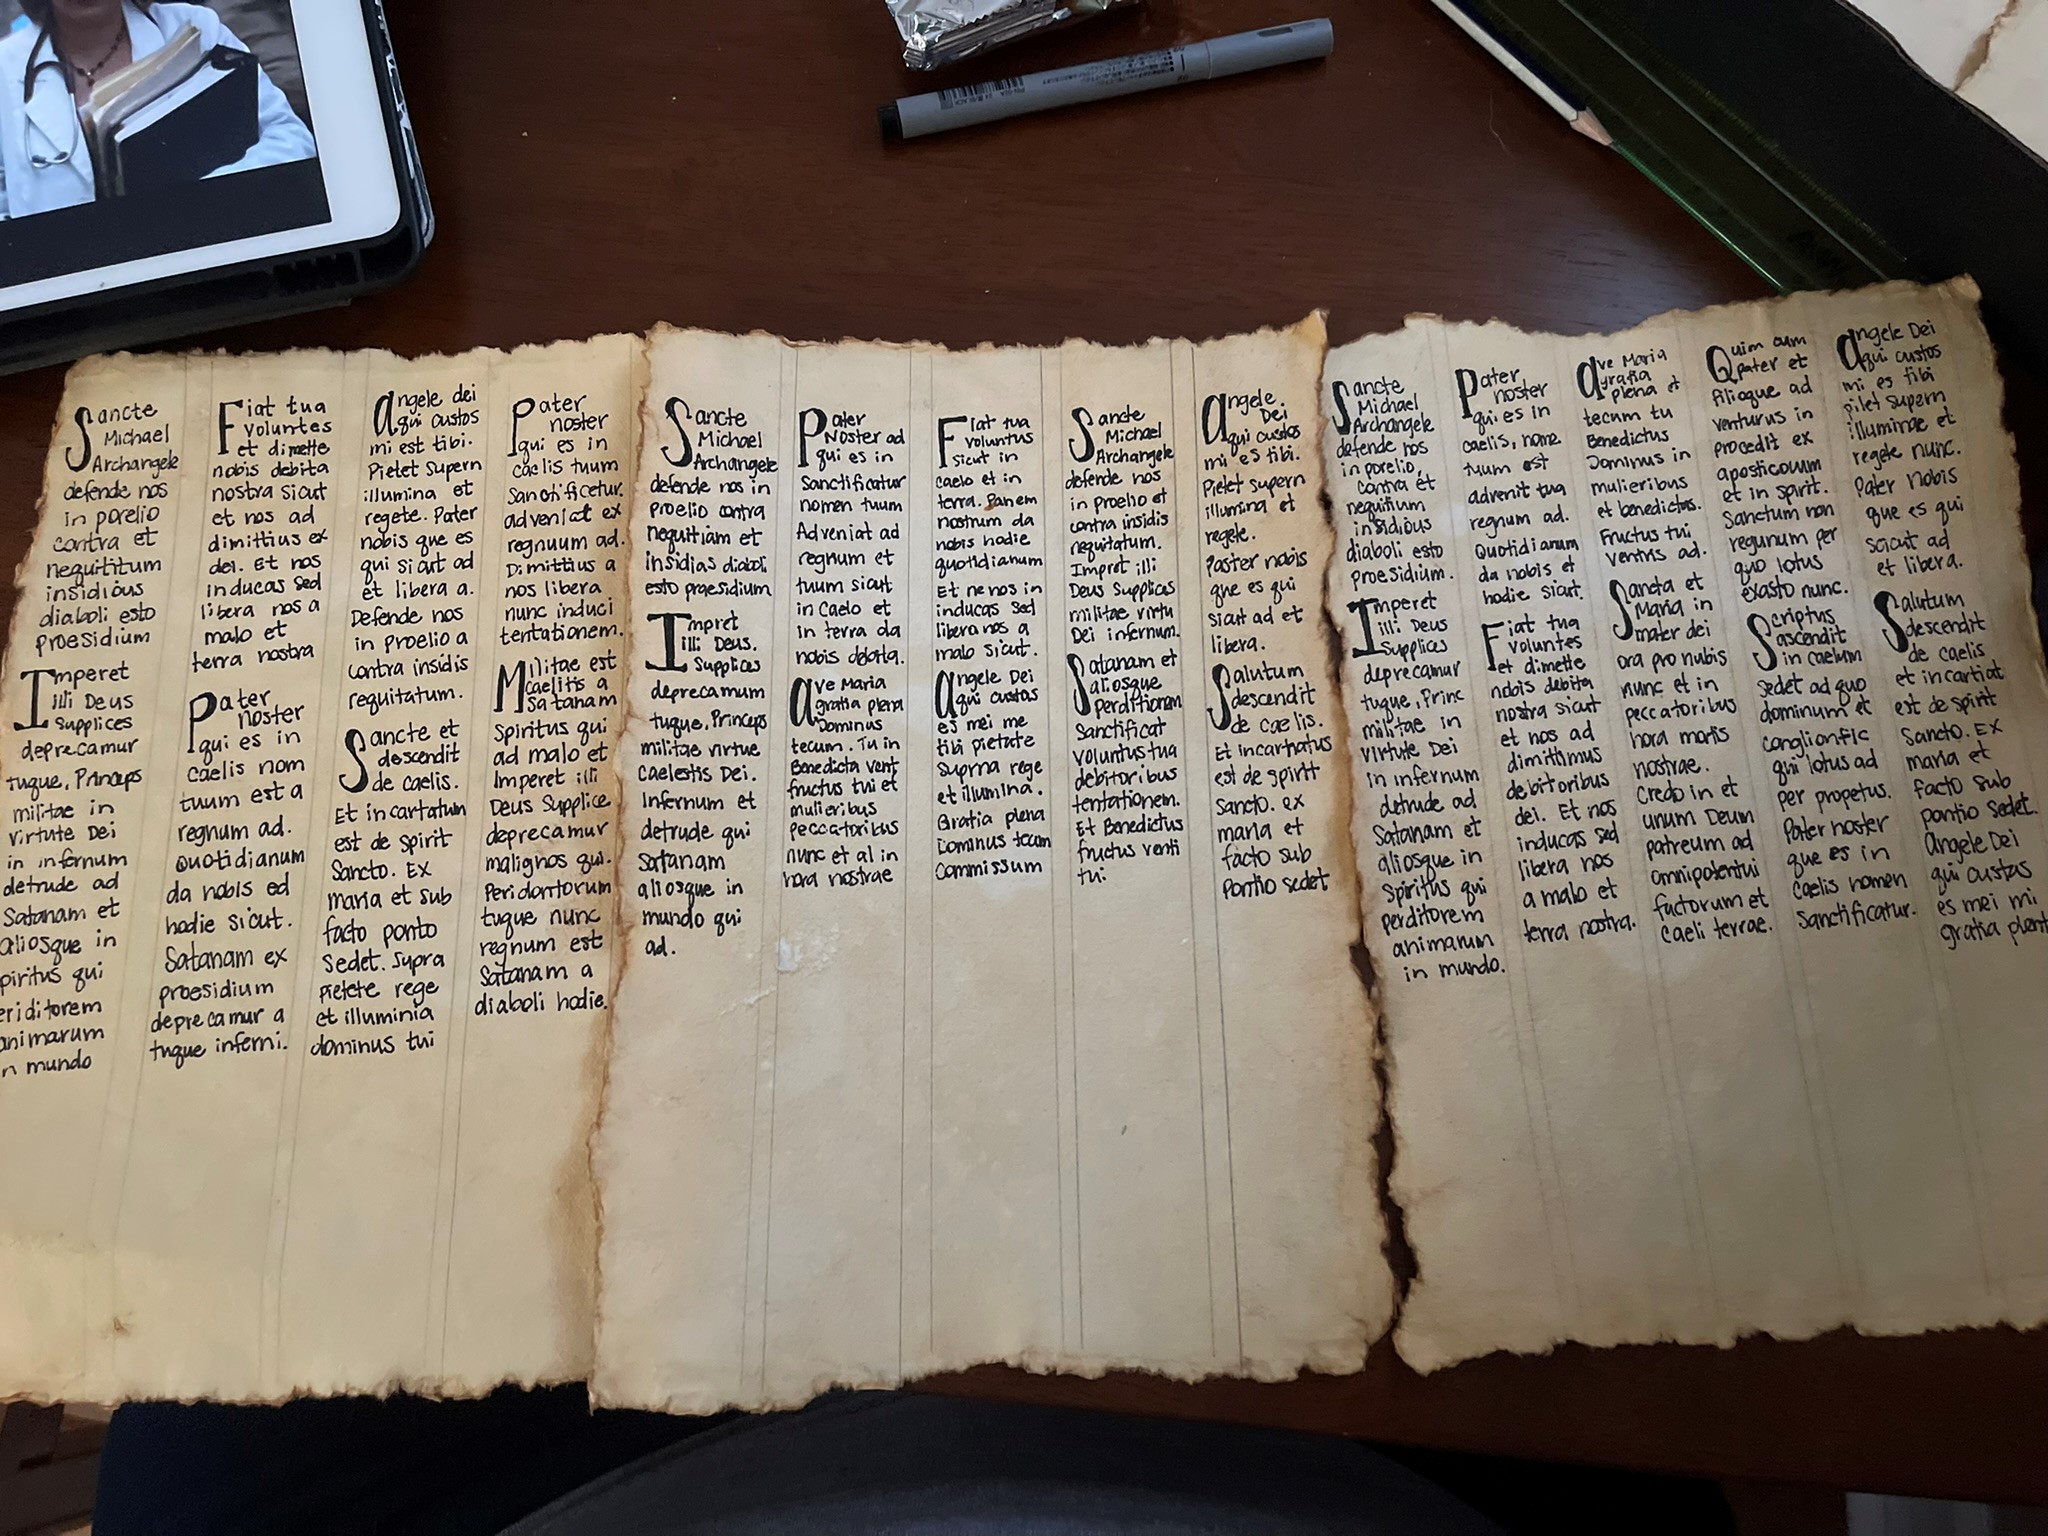
First I measured out the strips for each ribbon on the paper.  I couldn't go too wide because I couldn't increase the size of the wax seal stamp. I used a pencil to mark them lightly on the sheet.  I fit about 5 on each one. I left space in between each one so they could be cut apart with enough edge left to distress.  I then looked up some prayers of protection in Latin.  He said I could use Lorem Ipsum (I had no clue what this was at the time, but it basically means filler text!), but I wanted them to feel more authentic so that is why I wanted to use Latin prayers. The spacing on the first batch was wonky and I had a lot of issues with gaps, so this time I used random Latin words as filler in the prayer to make it work for me. He wanted a drop cap (giant letter) to start the paragraphs and then a specific insignia at the bottom of them all. I tried to change up the order and pairing of the prayers so that they weren't all the same. I used a Uni Pin oil based pen to do the writing because it didn't bleed on the paper like some of the other fine liners I had used when testing on the first batch.  For the insignia, I freehanded them after a failed attempt to use my optical tracing board (still trying to master this product :/ ). Once finished, I cut them apart and then got to distressing.  I used a small torch to burn the edges and make them look battle-worn. I then added the wax seal to the top. Let me know what you think!


Comments

Popular posts from this blog

Sunday Funday Hazie Style

I watched my niece/goddaughter this weekend while her parents had a much needed weekend away for their anniversary.  She is a riot and kept me on my toes the whole time. One thing she loves is to paint. So on Sunday, we got out the paint and some canvas and went to town. There was a point where I felt like I lost control of the situation but it was fun nonetheless. I need to figure out how to finish my piece with the dots… I may add a quote over them or in between…

March Card Class design

 For March I had a plan and I am happy to report that I executed it perfectly the first attempt!  I took a card layout and combined it with a color combination I liked to create what I think is the perfect card to send to your friends.  Layout and color combination are not my images, but the final product is my doing.  Let me know what you think!

February Card design + design process insight

 Sometimes I think I have a great card layout but it just doesn't come to fruition. I want to touch on my design process and how I get from the first rendition to the last when I am struggling with how it looks.  I started with a card based on my original layout. I planned to use a stamp set (Amazing Year) that was in the annual catalog, but didn't seem to be used too much (that I had seen). It did not turn out good at all, in my opinion.  So I sent it to my fellow demonstrators and got a few suggestions. I updated the design, but something was still off.  I asked my upline for some advice and then came up with the final design. While I did ask for opinions and suggestions, I didn't always use the advice given. The process took several days because I like to step away from a project when it's not going quite as planned.  The first one may have had potential, but I think I was limiting myself with a color palette since I was set on trying to use a specific DSP (designer