I consider myself to be a well-rounded crafter. From painting and card making to sewing and embroidery, I pretty much do it all. I have been creating things for as long as I can remember. As I have grown older, I am trying to perfect a few skills and sewing is one of them. I feel like it is a very handy skill to have. You can repair items you already have or create something new. This past weekend, I took time and some fabric scraps to make dog beds for two of my dogs. They have been without them for a few months because they always get the store bought ones dirty and then you can't really wash them so we throw them away. It's annoying spending so much on something that doesn't last long, so I decided to make ones that are easily washable. Parker is getting up there in age (he is around 10) so I wanted his to be super comfy. I had an old memory foam pillow I wasn't using so I decided to use that as my base and just made a cover for it. I wanted more than a pillow case so that it wouldn't fall off easily, but used a pillow case as inspiration. I took some flannel that I had and used it to create a basic pillow case. I folded the flannel in half and sewed up both sides and then folded over the edges to create a channel for a drawstring. I top stitched that and then cut two small holes on the inside fabric only near an edge seam. I put it on the pillow and then took a piece of tshirt that I had cut into strips and threaded it onto my drawstring threader tool. I secured one end to the fabric so it didn't slip into the hole and get lost and then started shimmying the threader through the channel and out the other hole. I removed the tool, unclipped the other end and then tied it in a bow, tightening it to the pillow as I did so.
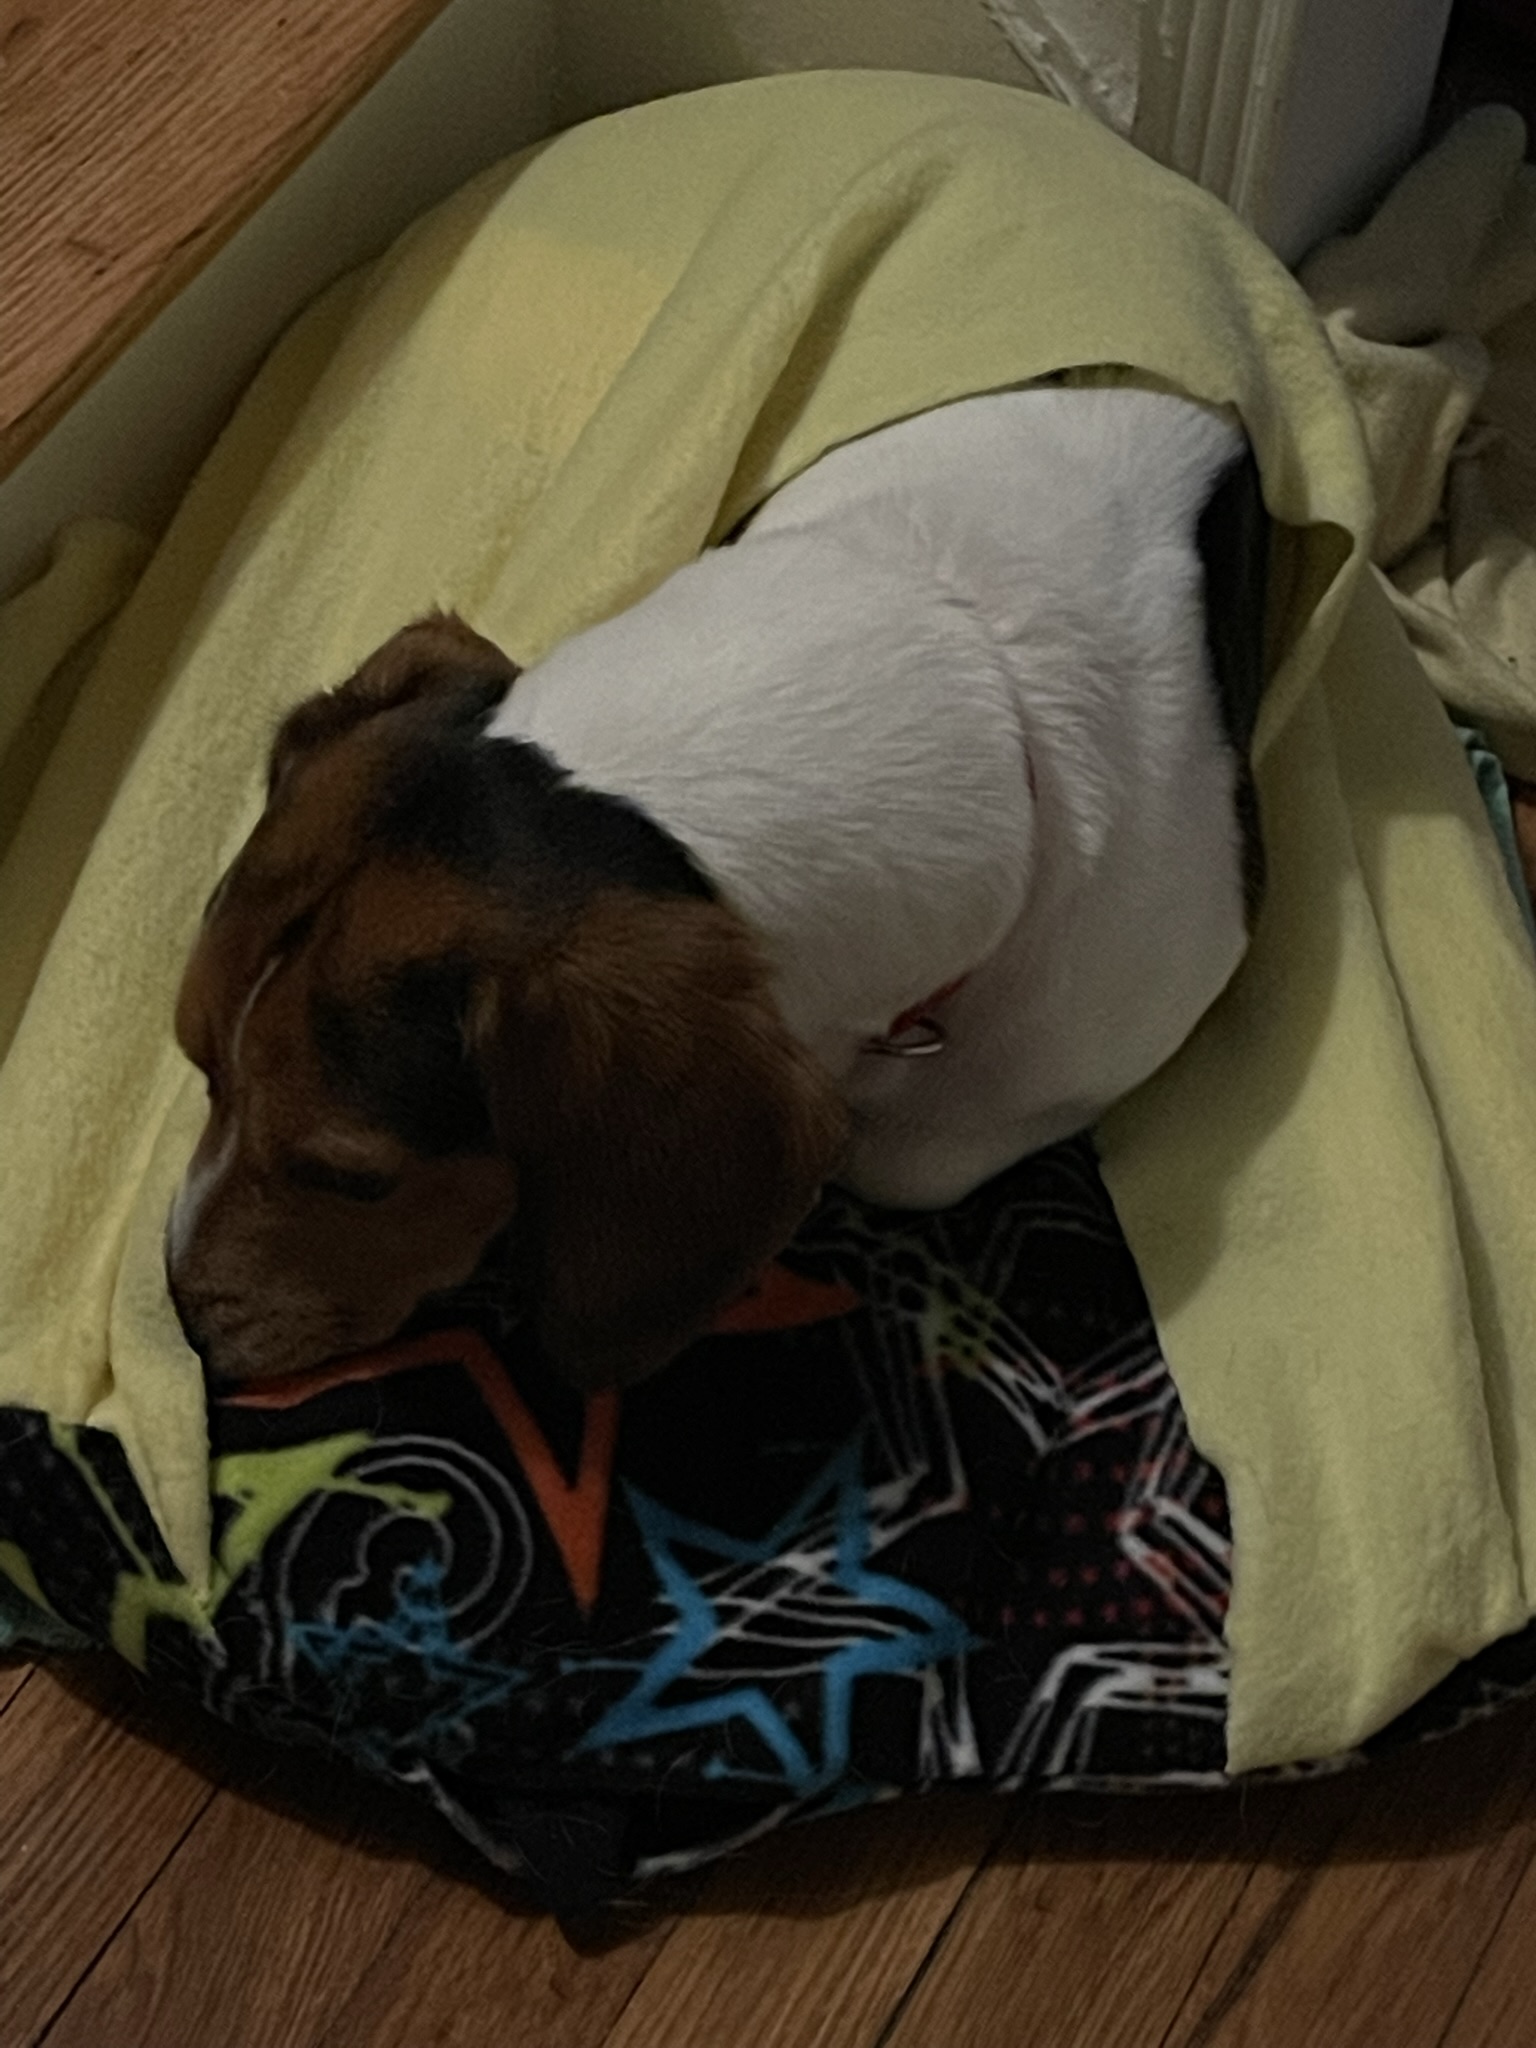
Frank's was a little more tricky. He likes to burrow so I wanted to make him a homemade version of a cozy cave bed. I used two pieces of fleece that I had. One was for the bed part and the other for the top "blankie" part. The blankie part was about one and a half times longer than the bed so he had room to move under it. I put right sides together of the bed part and clipped it on two sides. I then put the blankie part inside the bed part and lined up the short end with the edge of the bed removing and reclipping as I went so that the blankie fabric was sandwiched between the bed fabric when I went to sew the seams. I sewed up both of those sides and then flipped it right side out. Since the blankie part was longer than the actual bed portion, I gathered the fabric and did some darting to compensate and make it fit. I pinned it in place about an inch away from the edge. I flipped it back to wrong sides out and clipped the edge together so it wouldn't slip when sewing. I carefully and slowly stitched that together. In some places it was 4 layers so I wanted to go slow and make sure I got it all tacked down. Once that was done, I sewed the other side together, leaving a hole in the middle for stuffing. Once done, I flipped it all right side back out and then stuffed it with old tshirts. I figured those would be better than traditional stuffing since I wanted to make it more washer friendly and it is reusing something we would have throw away otherwise. And since I used shirts, I just take them out, throw everything in the washer and I don't have to worry about batting clogging the machine. I left the opening as is for now because I ran out of time, but will be adding two strings that I can use to tie it shut and will give easy access to remove shirts for washing.
I had a small piece of fleece left so I made a pillow for Parker. I just took the rectangle, squared it up, flipped it right sides together and then sewed around two sides and 3/4 of the other. I left an opening to be able to fill it and then hand sewed it closed after throwing a few shirts in there as stuffing. I didn't feel it necessary to make the shirts removable since it is small and plan to just toss it as is into the washer.
I still need to make one for our other dog and plan to do so this weekend. She is twice to three times the size of the boys, so I am still trying to figure out how to make one that won't get too lumpy but is big enough for her to lay down on while also not taking up too much space. That's the problem with getting her a store bought bed, the big ones always take up sooooo much room and it's frustrating because you don't know where to put them out of the way.
Parker was super grateful for his bed (blue zig zag fabric - previously it was just the blanket he is laying on in the picture) and thinks his new pillow is a chew toy.

Comments
Post a Comment